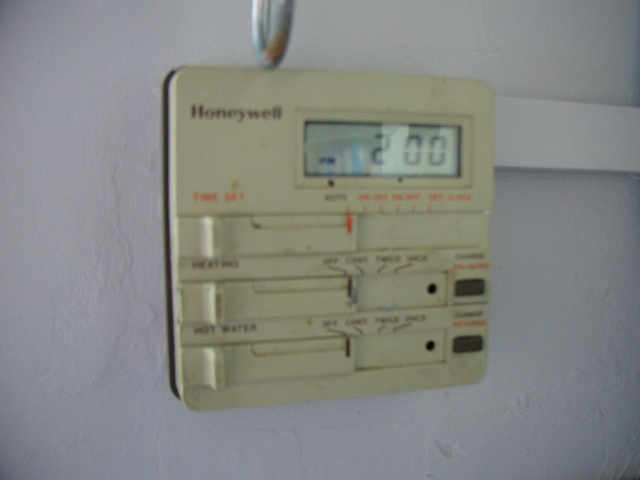
Ah, the Honeywell ST699 24-hour central heating/hot water timer. How I hate thee.
Now, I'm no fat hairy-arsed plumber but from what I can gather the ST699 is as common as muck and has been standard Honeywell fare for some years. The shit-brown colour of mine is an indication that it's probably a child of the Eighties as newer models are gleaming white and a little more pleasing on the eye.
Although it does a reliable job, my bugbear with this thing is that whenever the power fails, it loses its memory and reprogramming the clock is an absolute grind. It tends to default to midday when the power is restored and I have to use the forward/back buttons to scroll through the minutes and hours to get it back to the correct time. I've probably lost *minutes* of my life reprogramming this thing over the years following the odd power cut here & there but to be honest I've got better things to do with my time such as sitting in front of my PlayStation in my underpants.
Anyway, to cut a long story short, I found myself needing to reprogram the bastard again and as I muttered some naughty words about Honeywell and their short-sighted lack of a battery backup, I realised that this thing probably does have a battery backup, it's just so old that the battery is toast. I figured if I could pull the thing off the wall, maybe I could replace the battery and never have to set the freakin' clock again!
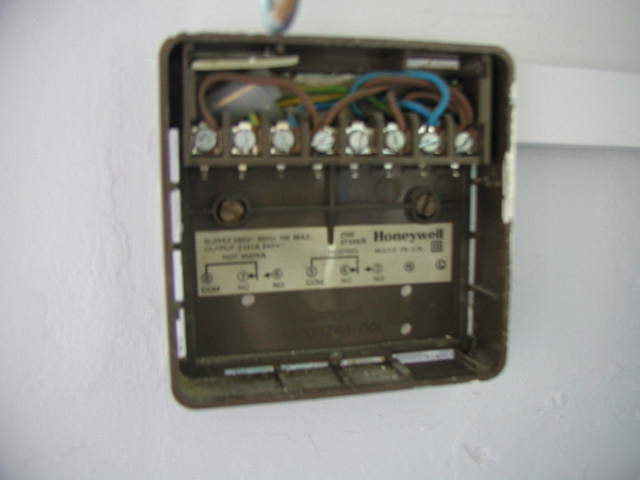
Apologies for the focus in these pictures, I can assure you it isn't down to your drunken eyesight. I don't know what my digital camera was playing at today (I really ought to read the manual).
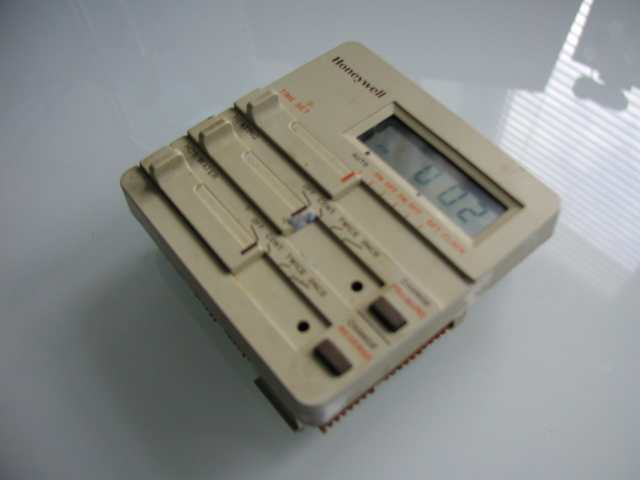
Step 1. Turn off the mains! Don't try and open this thing while you still have 230 volts pissing into it. I'm not sure if this is the official way to get the thing apart but I used a knife to prise down the tabs holding the facia onto the wall mounted backbox.
Step 2. With the facia removed, the backbox and cable connections remain on the wall.
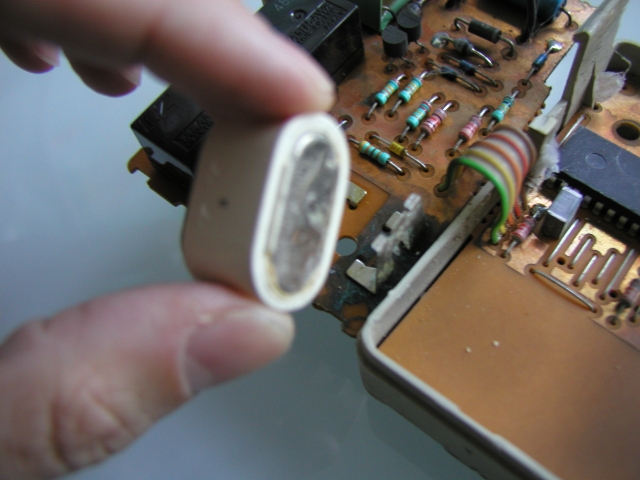
Step 3. Lie the facia onto it's front and open out the PCB by unclipping the rear board from the retaining posts. See that white lump? Looks like a battery to me.
Step 4. On my unit, the battery simply unclips from contacts that are soldered onto the PCB. The battery is a 3.6v Ni-MH cell as made by Varta. I hear later variants of the ST699 may have the battery fully soldered to the board so before rushing out to buy a replacement, take a close look to ensure you are getting the right cell and that you will be able to remove the old one.
Step 5. Here's my shiny new cell, coloured a rather fetching green. As you can see, it has PCB mounts but that's okay, it'll still fit.
Step 6. Here the battery has been plopped into place with its PCB mounts bent around the contacts to help keep it secure. When fitting a new battery, ensure the polarity is correct. In my case the PCB has a legend indicating positive is the contact nearest the two black relays.
Step 7. If all is well, the display should now be active even though the unit is not being powered by the mains.
The facia clips onto the backbox and the job is done. I don't know how long the replacement battery should last but I imagine it will outlive my ageing timer which will probably get replaced when my ancient boiler finally fails. That reminds me, I really should get the thing serviced...
...can anyone else smell gas...?


