The wife bought me a 40GB PlayStation3 for Christmas in 2007 which was a total surprise as I was expecting the usual disappointing tartan socks, Jeremy Clarkson "book", Lynx deodorant gift set or some such crap that wives and kids think their husbands/fathers actually want to receive on special occasions.
I suspect it was a decision she soon chose to regret as I spent hour after hour hogging the TV shooting aliens on Resistance Fall of Man, shooting zombies on Bioshock, shooting police officers on Grand Theft Auto 4 and shooting off over that bird on Uncharted, Drakes Fortune.
Despite the amount of games played, the PS3 has held its own and it’s only now, three and a half years later, that I’ve hit the wall in terms of available hard drive space. In fact, it’s trying to download and install the free games Sony are offering after losing my personal details to Mafioso ruffians that has finally brought by fat old PS3 to it’s knees.
Time to slot in some extra real estate so I can climb back into the gaming saddle.
The first thing you need is an external hard drive formatted as FAT32 and big enough to transfer the contents of your current hard disk. In my case, I have a 1TB drive which is massively more than enough. Although it came with an NTFS filesystem, I used my trusty Linux laptop to kick that out of bed for a single 1TB FAT partition. With the drive plugged into a USB port, the Backup Utility that can be found under Settings/System Settings can then be used to transfer existing games, saves and updates to the external drive. Backing up my 40GB drive took about an hour as the data was also compressed during the transfer, leaving a 26GB footprint on the external drive.
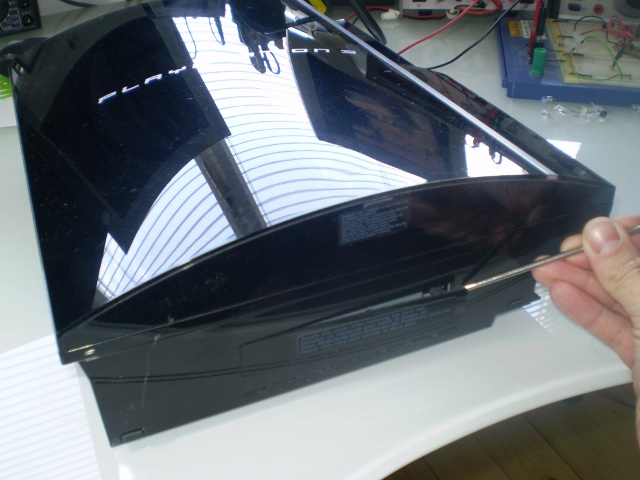
Once backup is complete, the first step to physically upgrading an original 'FAT' PS3 involves prising off the cover to the hard drive bay.
Next, undo the centre screw.
The drive sled should then be pulled towards the front of the unit to disconnect the drive and then pulled out towards you for full removal.
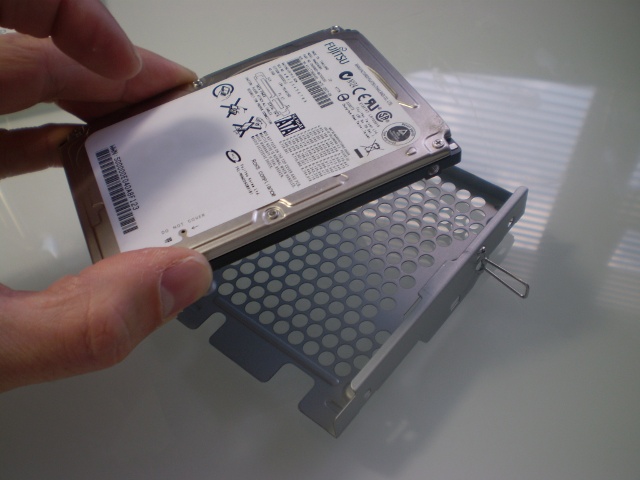
Once removed, undo the four screws holding the drive onto the sled...
...and lift the old drive clear. This is a standard 2.5" SATA drive and if you wanted to you could give it a new lease of life by fitting it into a USB-SATA caddy for use it as an external drive with your computer. Otherwise, like me, you could just add it to that drawer of stuff that might one day come in useful again but will probably end up being binned ten years from now.
Sony aren't too fussy on the make/model/capacity of the replacement drive so long as it's under 9.5mm high so it fits into the bay. 5400 or 7200rpm drives are both fine and SSD models can also be used. My new unit is 200GB and was thirty quid off Amazon at the time of writing. Here it's about to be bolted back onto the sled...
Once fitted back into the PS3, the first thing you see after switch-on is a prompt to format the new drive.
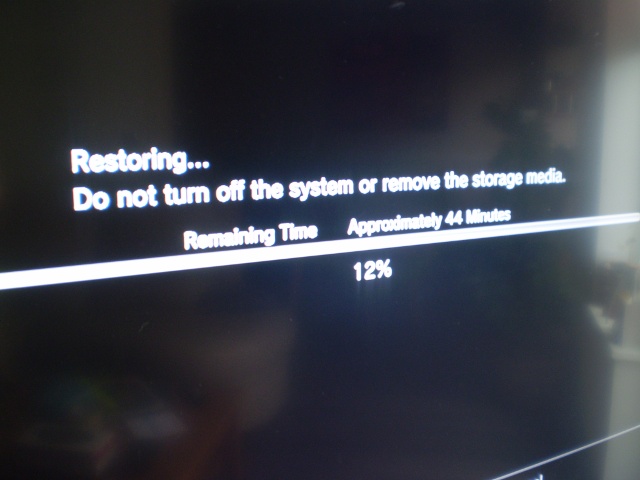
The final step is to reconnect the external drive and use Backup Utility to restore the data onto the replacement drive. Again, this took about an hour for me, but once complete my PS3 looked just as before except the System Information menu now shows a whole load of extra space for my porn games.
PlayStation3 hard drive upgrade
- Details
- Written by: David Savery
- Category: Hardware
- Hits: 16538


