So I’m working my way diligently through BioShock 2 *again* last Wednesday, when all of a sudden my Big Daddy brawl-up was interrupted by a black screen and my fat PS3 groaning to a clonking halt with a handful of beeps and a flashing red light.
Attempts to rouse the old boy back up off his arse only resulted in a brief green, then yellow light before ol’ red started flashing again accompanied by more of those beeps. I managed to eject my BioShock 2 disc by holding down the Eject button while flicking the power switch at the rear but could not convince m' 'station to come back out to play.
My console is four and a half years old so it’s out of warranty and I’m not about to parcel it off for a proper repair with Sony. In fact, I've decided to hang up my gaming controllers as I've recently only been using it for reliving past glories (Bioshock) or for DVD/BluRay/video streaming. A fifty quid LG media player can do the video stuff and I'd rather read my Kindle than play a computer game these days... which makes me sound old.
Anyway, getting busy with the screwdrivers seems like a no-lose option.
Some words of warning:- check though all steps before attempting this for yourself, ensure you use the correct tools, follow anti-static precautions, don't attempt it if you're cack-handed and don't blame me if you make a right pigs-dick of it. Also, different models of PS3 have different internal layouts and my UK fatboy may look different to yours if you peer up his kilt. So to speak.
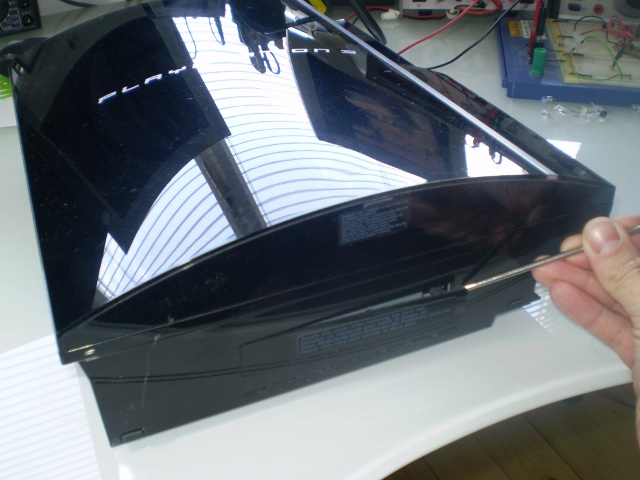
Step 1. Pop off the hard drive cover.
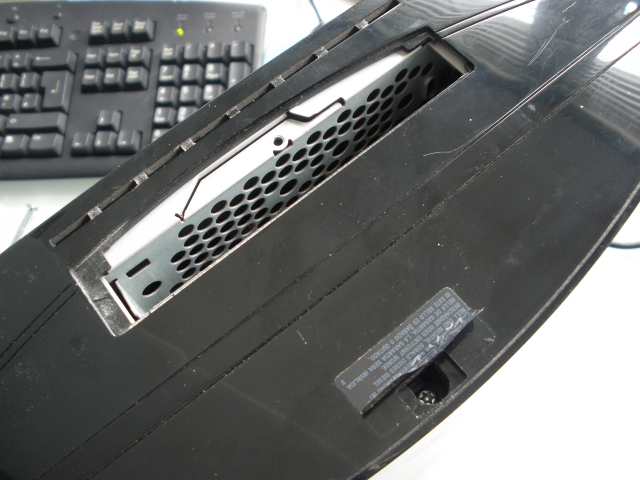
Step 2. Remove the screw.
Step 3. Slide the hard drive towards the front of the console then pull out the sled to remove completely.
Step 4. Peeling down the warranty sticker is the point of no return. If you have any warranty, use it for a proper repair! With the sticker peeled, prise out the rubber cover behind it.
Step 5. Behind that cover is a star shaped security screw with a nipple in the middle! If you don't have the right screwdriver for the job you may be able to pursuade it to come out by wedging a thin flat blade screwdriver into it.
Step 6. With that screw removed, the top case shell slides to the left and can be lifted off.
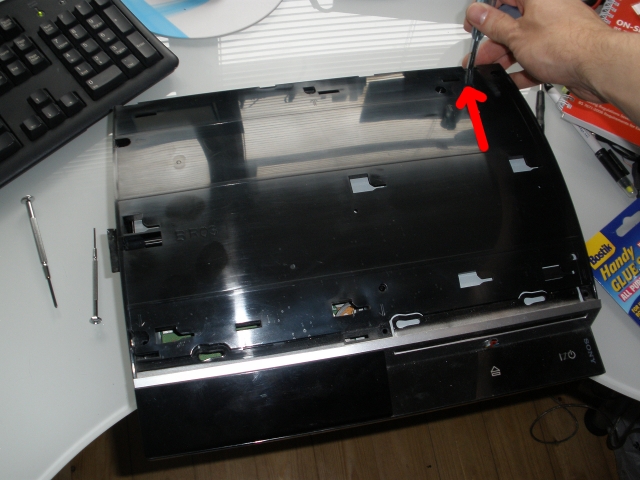
Step 7. Remove the seven screws. The top right screw is labelled 'S' and is shorter than the others. Remember this when reassembling.
Step 8. Use a flat screwdriver to prise the plastic clip out of the way and you can then lift off the top case.
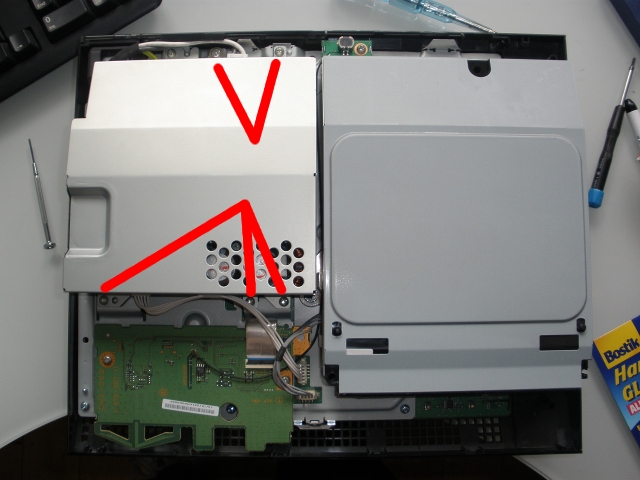
Step 9. Undo the five screws that hold the power supply in place. Disconnect the connector on the rear and the flying lead on the front. The PSU can now be lifted clear. It connects to two prongs on the left underside so lift straight upwards rather than at an angle.
Step 10. Flip up the locking tab and disconnect the ribbon cable on the Bluetooth/WiFi board.
Step 11. Undo the three screws that secure the Bluetooth/WiFi boards in place then lift the boards out.
Step 12. Unplug the BluRay drive.
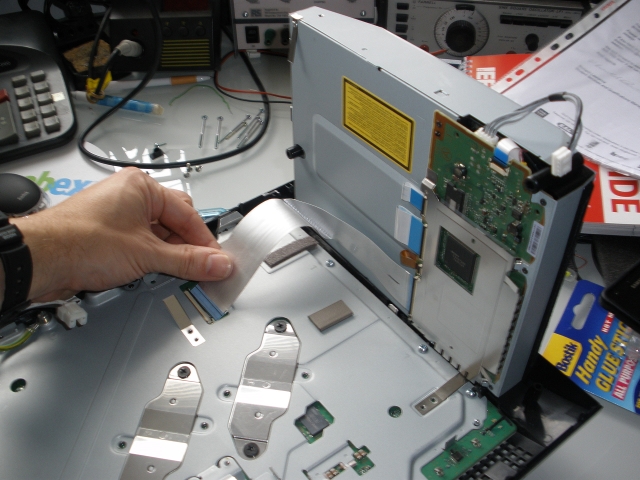
Step 13. Lift the BluRay drive onto it's side. Flip up the ribbon locking tab, disconnect the ribbon cable and lift out the drive.
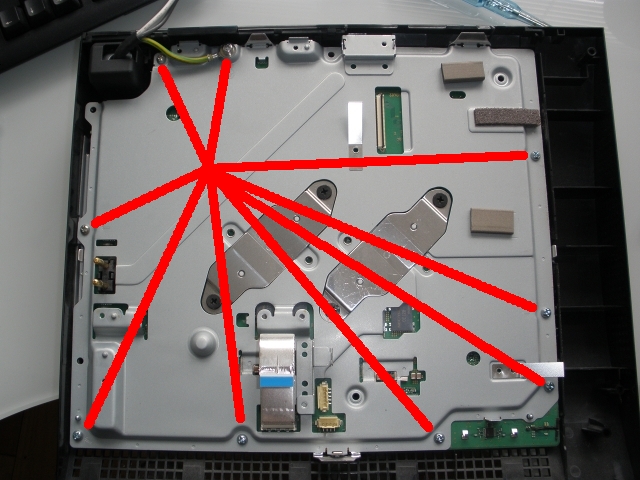
Step 14. Remove the eight shield screws and the earth screw. These screws vary in size so note which goes where!
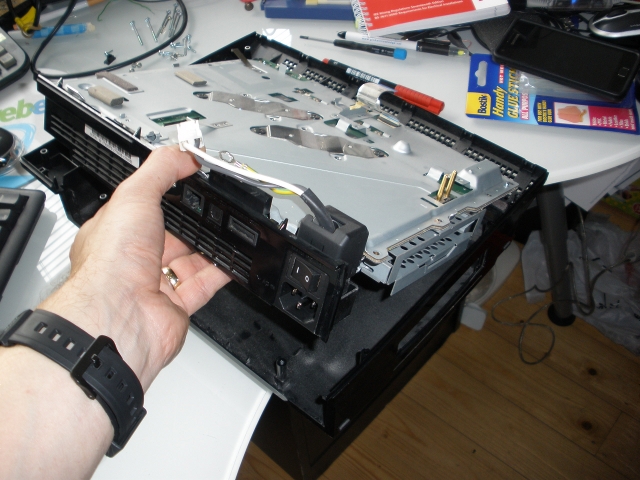
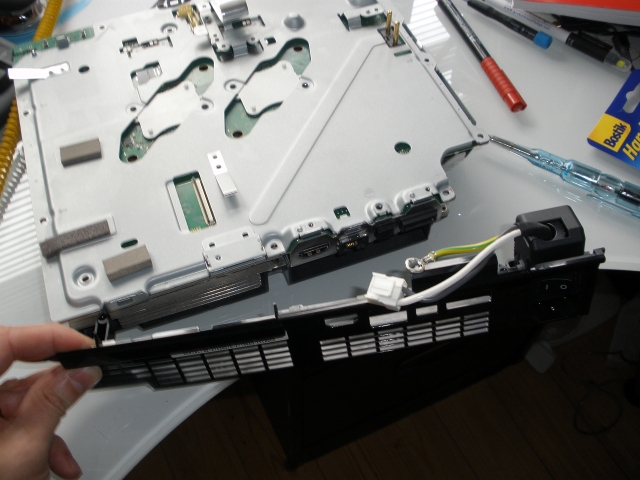
Step 15. The whole assembly can now be lifted out from the lower case.
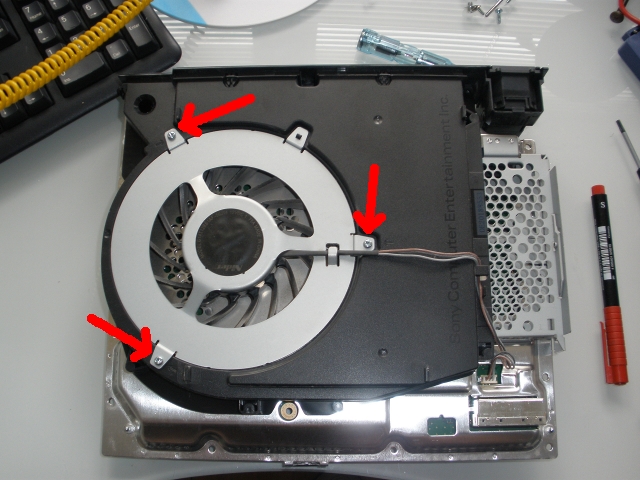
Step 16. Phwoar! Look at the size of that fan! Unplug the connector and remove the three screws.
Step 17. Lift out and remove the fan. A blast of air through that and the vents will get rid of trapped dust.
Step 18. Remove the four heatsink bolts and lift off the two heatsink clamps.
Step 19. Unclip and remove the rear panel with power connector.
Step 20. Lift off the metal shield.
Step 21. Here's the tricky part. The board is now only held in place by the suction of what's left of the heat transfer pads stuck between the CPU/GPU and the lower cooling chassis. A bit of pushing should persuade the board to separate from the cooling chassis. I found pushing up from the USB ports to be effective in my case but don't apply too much pressure to any single part of the board.
Step 22. Once the board is separated from the cooling chassis the remains of the old heat transfer pads should be carefully cleaned from the CPU/GPU chipset tops and from the cooling chassis.
Step 23. When cleaned the writing on the top of the CPU/GPU should be legible.
Step 24. I applied new heat transfer grease to the CPU/GPU, although not too much as it should spread once the heatsink clamps are tightly refitted. I also replaced my fan assembly. The result was that it works - but only with the fan running at full speed. It's too noisy for continued use so I finished Bioshock2, took a final backup, then de-registered it from my account and broke it for spares. It's now been replaced with an LG BD650 DVD/BluRay player with USB connection for my porn-riddled external hard drive. As for gaming, it's just the Wii and PSP for me from now on. I guess that's fine as I only really have time for arcade games and playing online was *always* a wank experience and will probably remain so without me.

